Showing posts with label diy projects. Show all posts

Monday, September 23, 2013

Mummy Drinks


Aren't these the cutest mummified juice boxes you've ever seen? My kids LOVED them! The only down fall was that they wanted to drink three of them just because they were fun to drink from and ended up loaded on fruit punch! They were not hard to make and would make the perfect drink for any Halloween party or Fall function as school.


Supplies:
Juice boxes
wiggle eyes
white duck tape
Hot glue for the eyes

Directions:
  • Remove the straw from your juice box.
  • Start wrapping your box from the bottom. About half way up place your eyes on the tape. 
  • Continue wrapping the box trying to cover parts of the eyes to look as though they are peeking out of the wrapping. Ooooo scary!!!!
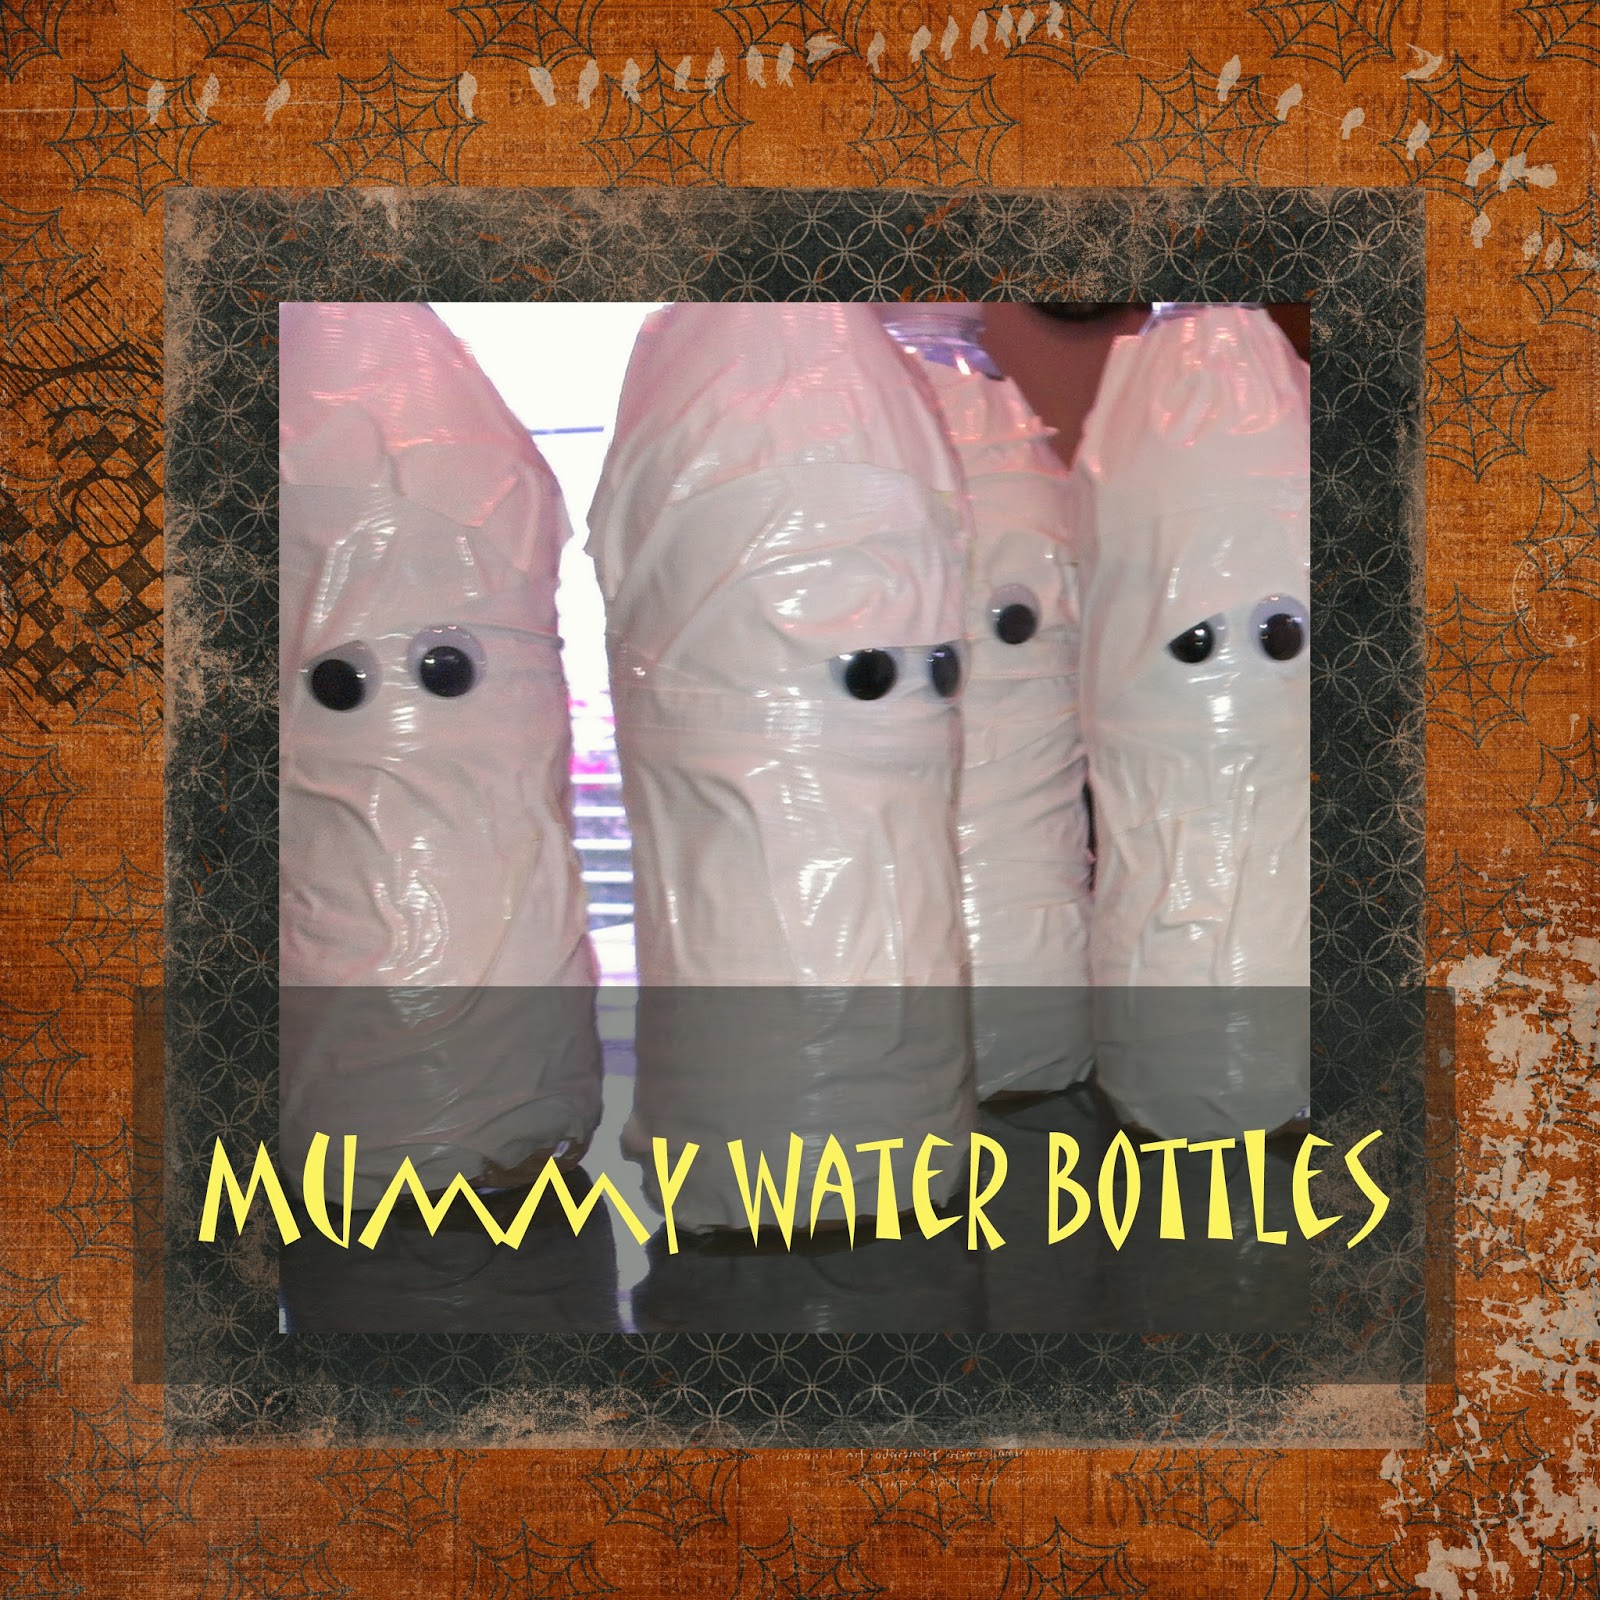
For even more fun wrap up some water bottles! :)


What cheesy grins!! I was laughing so hard for some reason and I don't think these water bottles are cool enough for my step daughter!! ;) One thing for sure we had a ton of fun at our little party!

Thursday, September 19, 2013

Beautiful Fall Wreath


  This has been one of my favorite wreaths to make. It was so simple. No glue, just pliers to cut the berries and that was it! I bought a grapevine wreath and just randomly stuck the berry twigs into the wreath. I LOVE IT!! JoAnn Fabrics currently has all of their fall florals 50% right now so that made making this wreath super cheap.


In the picture above  you see a moss covered letter R. I was going to hang this from the middle of the wreath but didn't like how it looked so I took it off. It was too small. I might try to find a larger one. I'll let you know if I do. :0


Aren't these the prettiest little branches? I fell in love with them right away when I saw them in the store. About five of them were connected onto one branch. I originally stuck each bunch onto the wreath. It didn't look good so I cut them apart and liked it a lot more. It actually made the wreath look fuller.

I would love to see any of your fall wreaths that you have made.  Send me the link or a picture. Hope everyone is having a great start to your Fall. Have a great weekend!

Thursday, September 12, 2013

End-of-Summer Projects


About a week ago, a Community Manager over at Hometalk , asked me to curate a board for their Pinterest page about end of summer projects. I was very excited to do this for them. I absolutely love looking through Hometalk at everyone's projects for ideas and I love posting my projects on my board to share with everyone.  If you are interested in seeing which summer projects that I chose just click on the above image and it will take you straight to my summer projects board for you to visit. I hope you like the projects, and let me know which ones were your favorite!

Have a great day everyone. :)

Thursday, August 8, 2013

Framed Shells


Are you looking for something to do with your seashells that you collected this summer? I have collections of shells around my house but was looking for a different way to display some of them. We had collected a ton of shells while we were in Orange Beach last summer and some of them where a lot a like so I decided to display those in a frame. Below is how I put this together. The frame was $12 at Michael's, but I found it at 40% off and I had all the other materials so it ended up being a pretty cheap new piece of art for our home that has a lot of meaning to us. Love those kind. :)

Supplies Needed:

Shells
cardstock
printer
burlap
Modge Podge
Frame
Burlap
Hot glue

Directions:
1. Select 9 of your favorite shells and apply a layer of Modge Podge to make them shiny. Let dry.
2. Print the location of where you found your shells on the bottom of a piece of cardstock. Cut the cardstock to fit the center of the frame.
3. Hot glue your new shiny shells to the cardstock in any pattern you like.
4. Cut burlap to match the size of the frame. Hot glue the cardstock to burlap. Be careful, burlap has holes...learned this the hard way and burned my fingers. :(
5. Put your new art in the frame and your done!! :)


Sunday, August 4, 2013

Memories in a Bowl


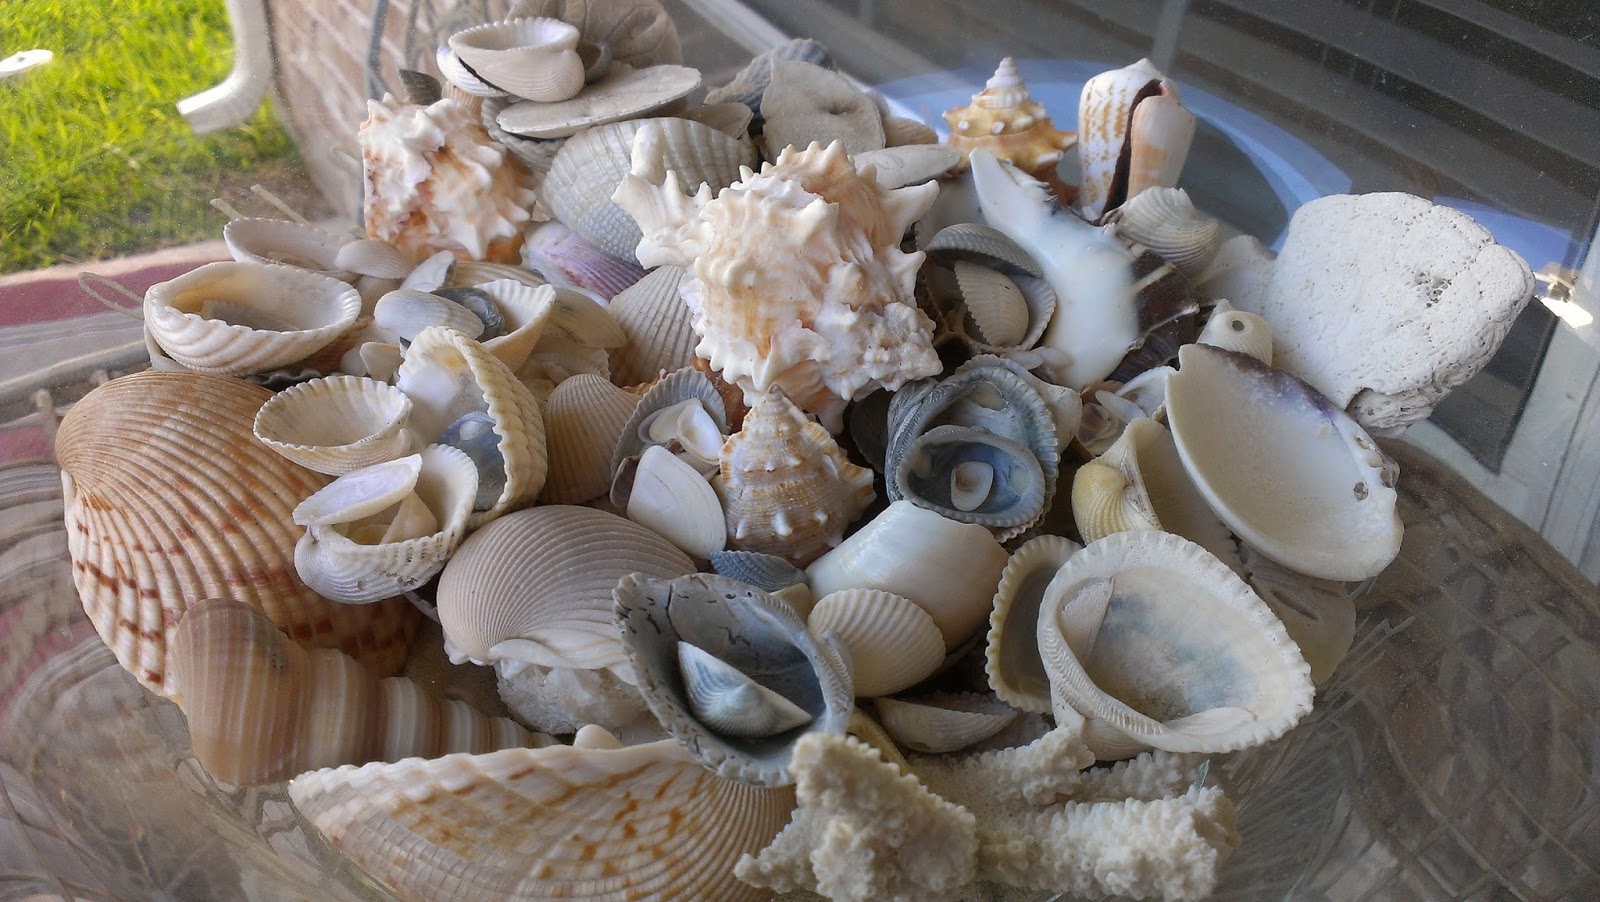
Every summer, for my whole life, I have gone to the beach. I grew up in Corpus Christi TX and have since made it a tradition to visit a beach some where during the summer. We have recently, in the last six years, discovered the beaches of Alabama and Florida. Oh my goodness, the sand and the water of that section of the Gulf of Mexico are just paradise! If you ever get a chance to visit Seaside Fl or Orange Beach Al you should GO!

During our many trips to the beach through out the years I have collected seashells. My husband gives me a hard time because I am one of the youngest of the group walking the surf looking for the best shell. I LOVE it though! It is so relaxing and therapeutic to walk the beach listening to the surf as you hunt for a great find. Last year in Alabama tons and tons of shells washed up everyday. It was so much fun. I couldn't wait each morning to get down to the beach and see what I could find.

Besides them being beautiful each shell is unique and each one has a story.  I can almost tell you where, when, and who I was with as I go through each of my shells in my bowl. To help me remember I also get a fine sharpie and will write on the shell the place I found the shell. ;) This will help as I get older!


So, each summer (after Memorial Day through Labor Day) I pull out my shells and my sand and fill up different glass bowls around my house. I love having them out each summer and going through them with my family and remembering our past trips.


Saturday, July 13, 2013

Simple Summer Burlap Wreath


 I love the way this wreath turned out! I wanted something simple & bright for our summer wreath and using these bright yellow flowers on a simple burlap wreath I think I got just that. :) I know that I am late putting up my summer wreath in mid July but life has just gotten away from me these days. And to make it worse when I went to the craft store to buy supplies they had their autumn decorations on 30% off already!?!?!? WHAT!!!  It made me feel really behind. But I think I'm ok because I can have this cute thing up into early autumn because of its colors. That I love! ;)

Supplies Needed:
  • Burlap
  • Flowers
  • a ready made wreath
  • Hot glue
  • Scissors


Directions:

  • Wrap the burlap around the wreath. Hot gluing it together in the back to seal it together.
  • Cut the flowers off of the stems.
  • Hot glue the flowers to the wreath wherever you would like them.
  • Make a hook on the back of the wreath using left over burlap.
It's that easy y'all!! I would love to see what summer wreaths you have created. Have a great day. :)

Tuesday, July 2, 2013

6 Free Summer Subway Art Printables


Here I go again with free subway art!! ;) I just can't get enough of these things! Below are six of my favorite for summer. Each description on these makes my heart smile and reminds me of being a kid again and wanting to give each of these opportunities to my kids. Oh how I love summer! :) Click on the link below each picture to take you to the site I found the art and you can print at home for free.
Have fun decorating!!
 brown paper packages: {oh, what do you do in the summertime?} guest post: eighteen25
Source: Eighteen 25

 
Source: Manda Girl

summer-subway-art-copy_thumb2 


Source: CM2

summersubway art1.jpg 
Source: 4share

Wednesday, May 8, 2013

DIY No Sew Burlap Table Runner


I have loved decorating our dining room this year for Spring. I've put up subway art, upcycled jars with spring flowers, made a spring wreath, and placed moss & rocks in glass jars with candles. Something though on our table was missing and I wasn't sure what it was. Well, the other day I was reading Chase the Star and she had put together a very simple no-sew table runner on her table. I knew immediately that I loved it and wanted to make one. I love cute, easy, & affordable!!

At Michael's craft store you can buy a roll of burlap, for table runners, for $12. But, if you have a 50% coupon like I did it's even better!! ;) I picked out some green ribbon that went along with the other spring colors I have going on in the dining room, got my glue gun, and got started!

First, I measured the right length of burlap for our table. Then began to hot glue the ribbon along the outer edge of the burlap.


For the corners, I wrapped the end piece over the side piece and hot glued it together. This ribbon has wire in it so it made a really nice crease.


It didn't take me long at all before I was completely done. I really love what this runner adds to our table. I'm SO happy with it!!


Thanks Chase the Star for the great idea!! While I still had the glue gun out and the burlap I decide to decorate a couple more jars that I put in our bedroom. Hee Hee!! They turned out cute too!


Wednesday, May 1, 2013

Homemade Laundry Detergent & Pinterest Power Party!!


Since I have been on Pinterest, for about a year and a half, I have wanted to make my own laundry detergent. I have continued to see pins on so many different ways to make "the best" homemade detergent. Well about a month ago I was reading Love Pomegranate House, a blog that I follow, and she made her own detergent and made it sound very easy and effective. So, I thought I'd give it a try.

It takes 5 easy ingredients: Borax, Washing Soda, Purex Crystals, Oxi Clean, and a Laundry Bar of soap. Easy enough right?? While I was shopping for the ingredients I couldn't find the laundry bar of soap or the washing soda at my first stop so I asked a girl that worked there for some help. After asking her for these two items, and telling her I was making my own detergent, you should have seen the look on her face!! She looked at me like I had just gotten out of my horse drawn carriage!! She said, "why on earth would you make your own detergent when you can buy a box already made???" I wanted to crawl into a hole!! I wasn't really sure at this point why I was making my own other than the fact that everyone else is doing it on Pinterest right???

Well, after coming home and putting my detergent together and doing my first load I can now tell you that it is a VERY good feeling to make your own and have your wash turn out looking great and smelling fantastic. I am very proud of making my own and I am saving a ton of money this way too. We have a family of six and I do laundry ALL of the time! At 1-2 tablespoons a load I am thinking it is going to last a long time.

Here are the measurements:

1 cup Borax
1 cup Washing soda
1/2 cup Powdered Oxi Clean
1/3 cup Scented Laundry Crystal (I used Purex)
1 bar Laundry Soap (I used Fels-Naptha. I found it at Wal-Mart)


Mix the first four ingredients into a container. Then you will need to grate the bar of soap with a cheese grater. Stir it all together and you are done.  When I was at Wal-Mart I saw a super pretty 2 gallon clear canister that screamed out at me, "I want to hold your detergent!!" so I had to buy it of course. :) Well, once I put my first batch in it filled up like an 1/8th of the canister.  So I went ahead and made 5 more batches using up all of my washing soda, Purex crystals, and 6 bars of soap. It is now a very full beautiful detergent container. :)


I love it!! And really hope that if you decide to give this project a try that you love it as much as I do. Have a good night and I hope you enjoy the Pinterest Party below!

Thank you Love Pomogranate House for the detergent recipe. :)

Hey friends! It's time for our weekly Pinterest Power Party!

GUESS WHAT!? We've created a Pinterest board for the weekly Pinterest Power Party! Be sure to follow our board here to see which links are featured or just catch our eye each week!

This party is to focus on YOU - the readers! Do you have a DIY project, frugal gift idea, or delicious recipe you want to share? Well, we want to see them and share them on our Pinterest boards too!!

Sew Much Crafting

So, you're asking...
How do I participate? Easy!
Be a Pinterest Follower of the three hosts as well as our co-hosts!
Heather @ Living on Love and Cents: Pinterest | Blog
Chrissy @ The Taylor House: Pinterest | Blog
Danielle @ Sew Much Crafting: Pinterest | Blog
Deanna @ Gloriously Made: Pinterest | Blog

Megan @ Our Pinteresting Family: Pinterest | Blog

Let's party!! Help us spread the word by grabbing the above button and putting it on your blog! You may link up your favorite projects, tips, recipes, and ideas! Please pin the two links before yours {and any others you like too!!}.

But wait, there's more!! Be sure to stop by next week and see if your link was featured! If you're featured, grab a button and wear it proudly on your blog!

Sew Much Crafting
Would you like to co-host with us? We have openings in some of our upcoming parties for people who would like to join us! Just send an email to Chrissy {cmaetaylor@yahoo.com} to find out which dates are available!
   
Are you ready to party and get your pin on?
Here are the features from last week!
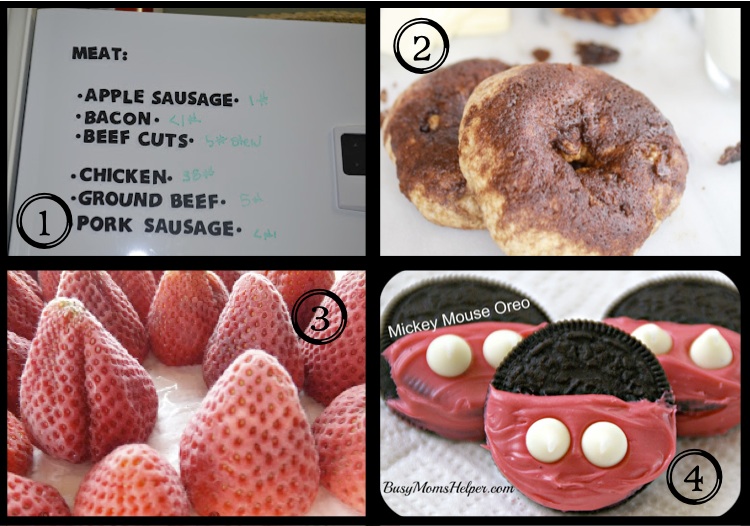
{1} An Organized Freezer from de Jong Dream House
{2} Cinnamon Crunch Bagels from Half Baked Harvest
{3} How to Freeze Strawberries from Turnips to Tangerines
{4} Mickey Mouse Oreos from Busy Mom's Helper

{5} DIY Sofa Table from Let's Get Crafty
{6} Repurposed Can Herb Planters from Cozy Country Living
{7} Lemon Raspberry Phyllo Tarts from Lemon Tree Dwelling
{8} Upcycled Thrifted Lamp from The Happy Housie